On this page
Emerald Coast Australia is a reserve DLC released in 2023 in theHunter: Call of the Wild, modelled on New South Wales, Australia. An Australian reserve mixing outback, bushland and rainforest, with new animals, a new rifle and conservation missions.
This page covers everything about Emerald Coast Australia: all 14 species with their class, trophy thresholds and need-zone clocks, the weapons that cover every class here, our illustrated interactive map, the official screenshots, our hunting tips, and answers to the questions players ask most.
Emerald Coast Australia in Pictures
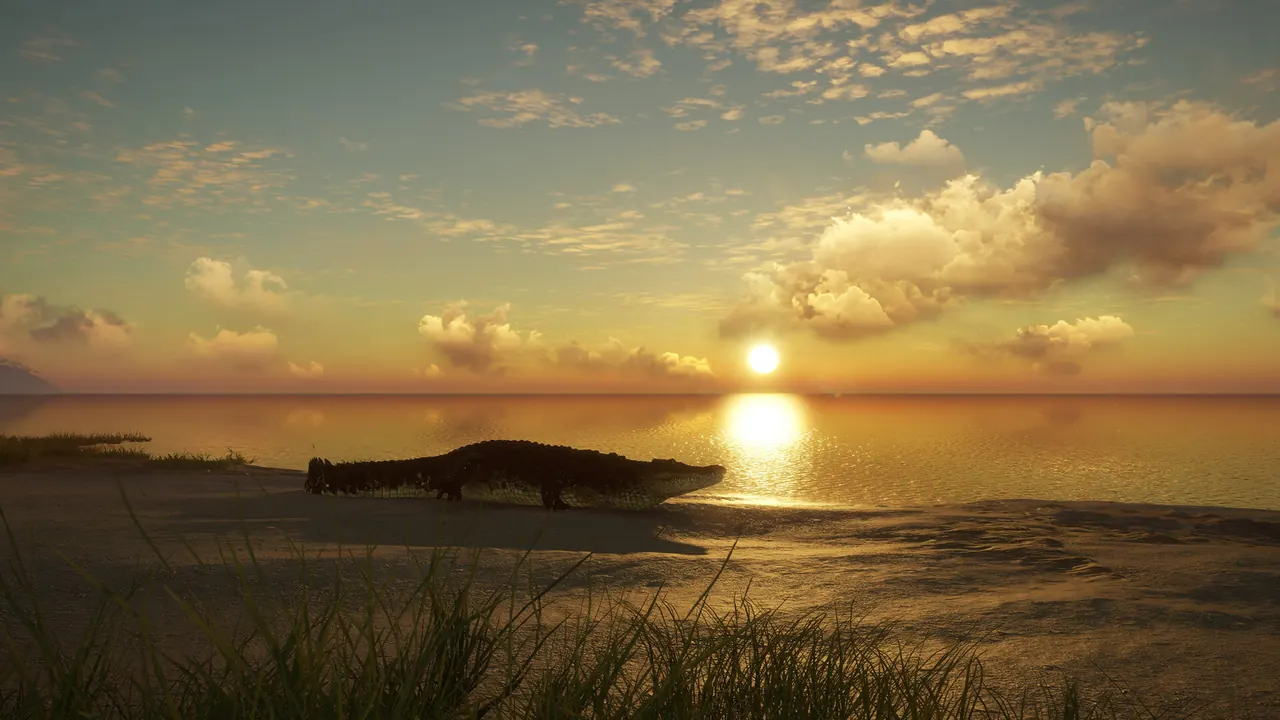 Saltwater crocodile on the beach at sunset
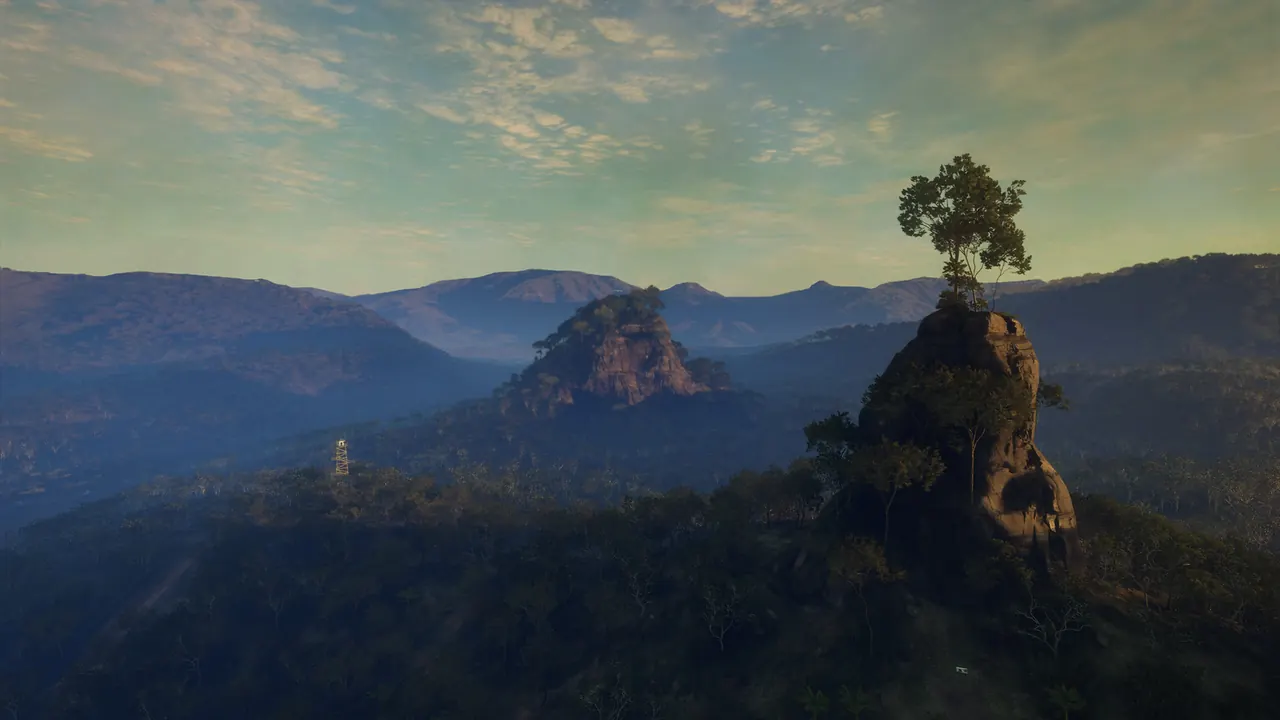 Rock stacks above forested ranges
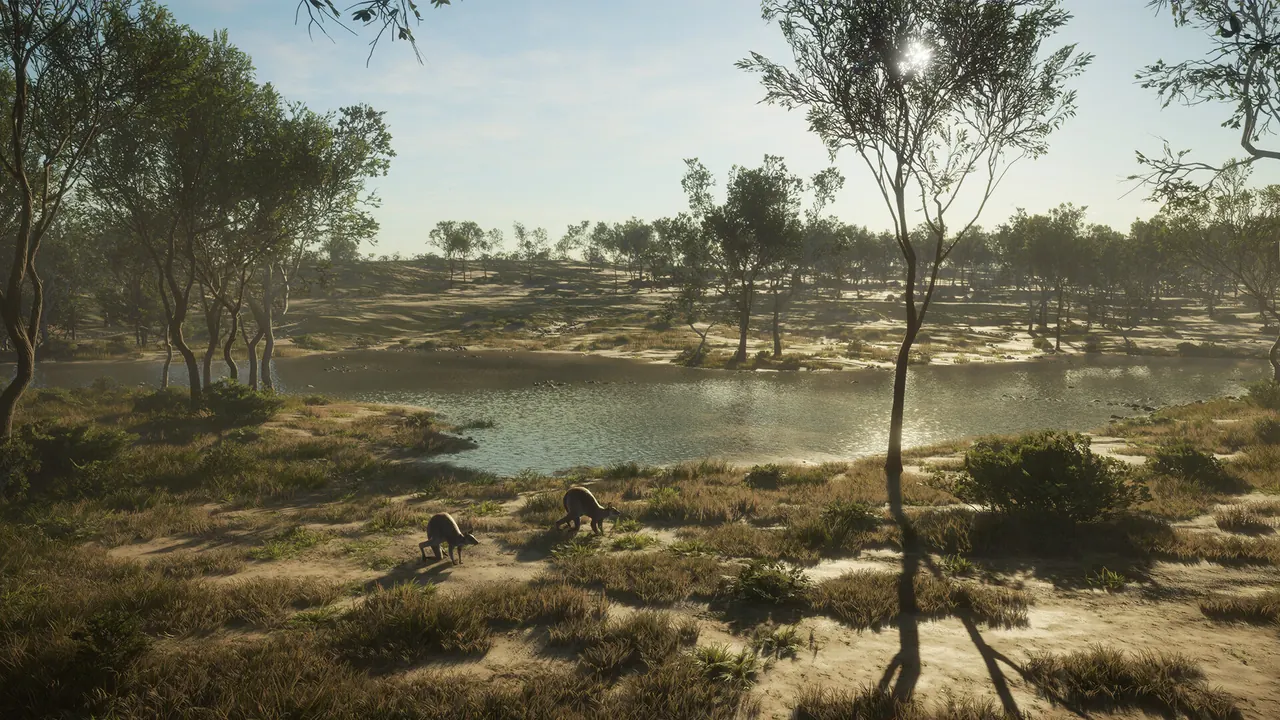 Kangaroos at a bush waterhole
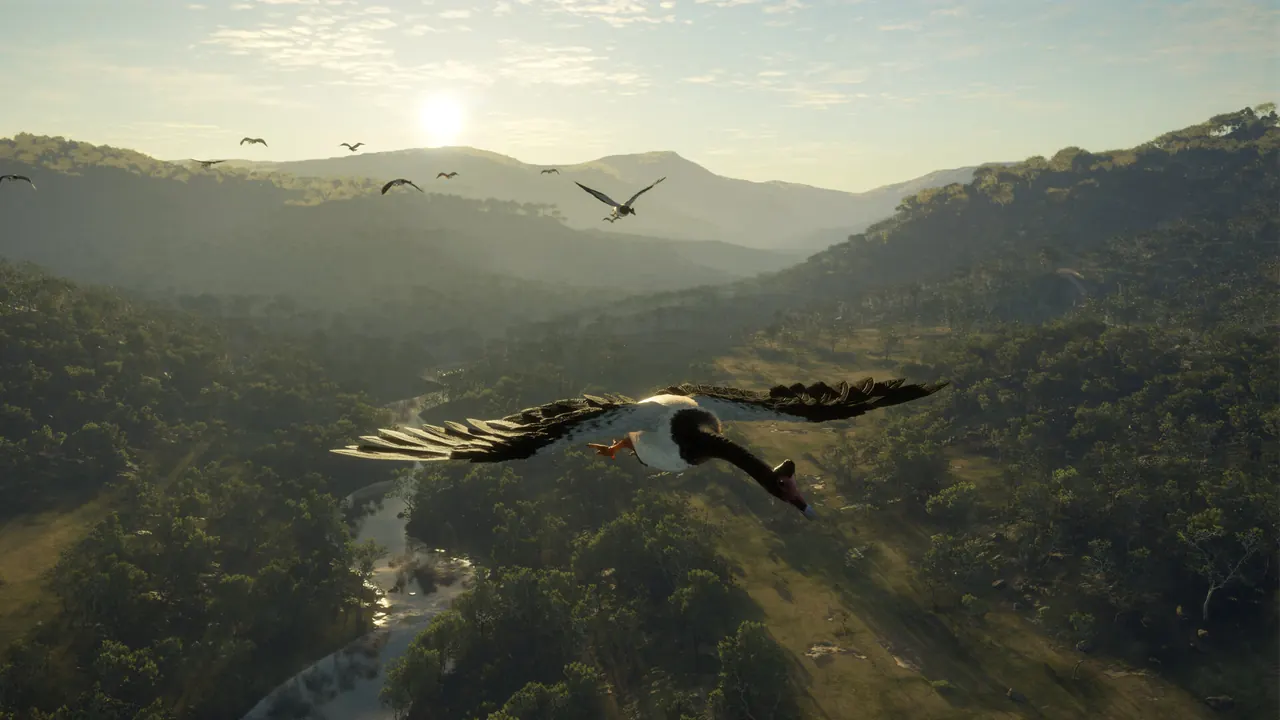 Magpie geese over the valley
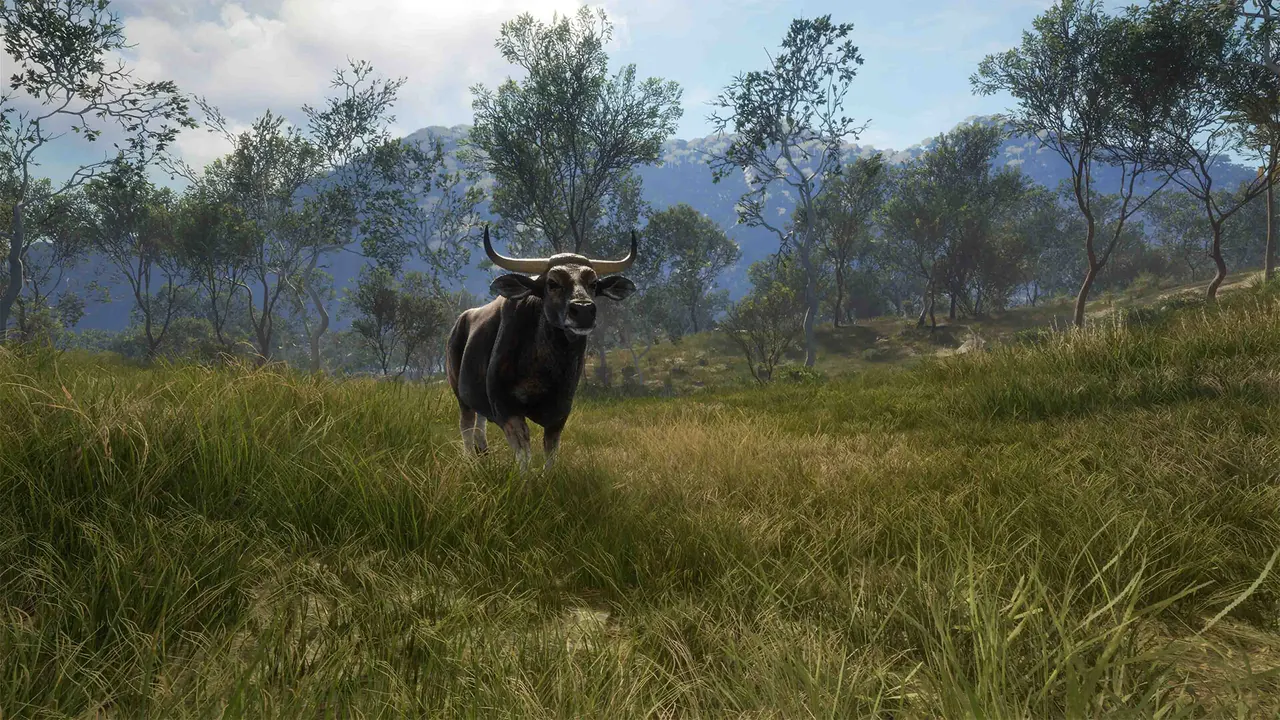 Banteng bull in the bush
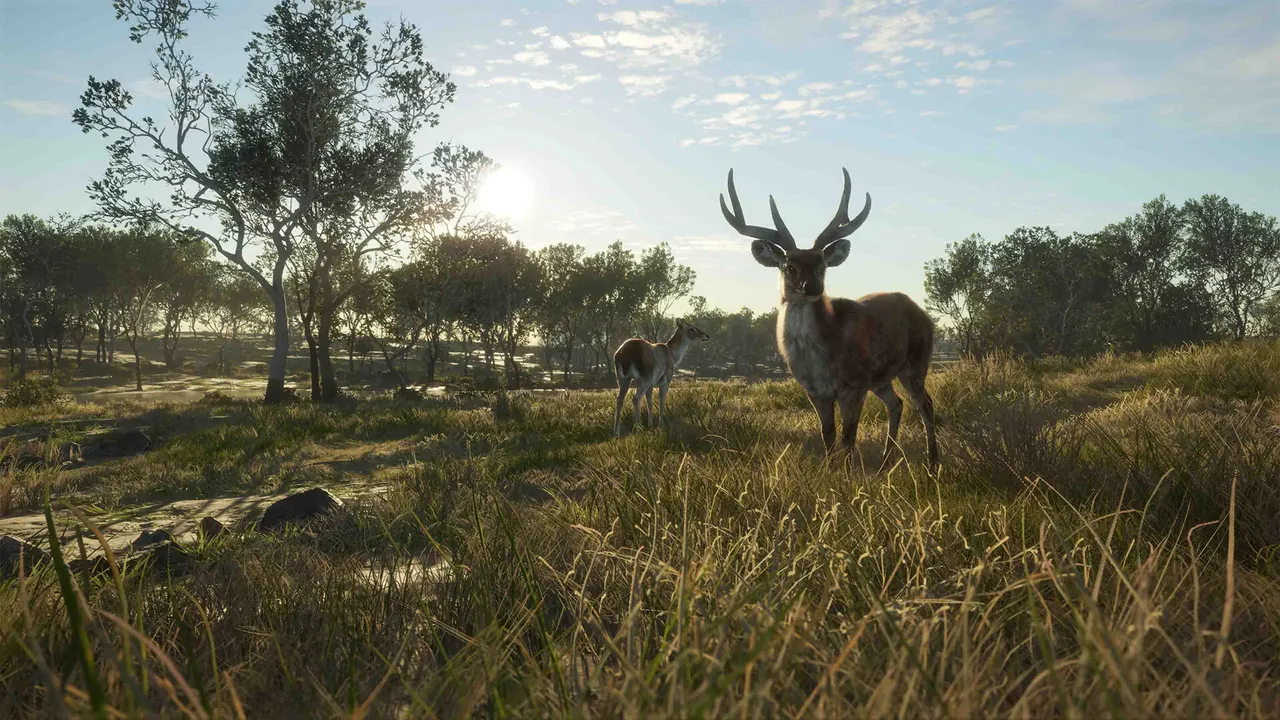 Deer stag in open bush
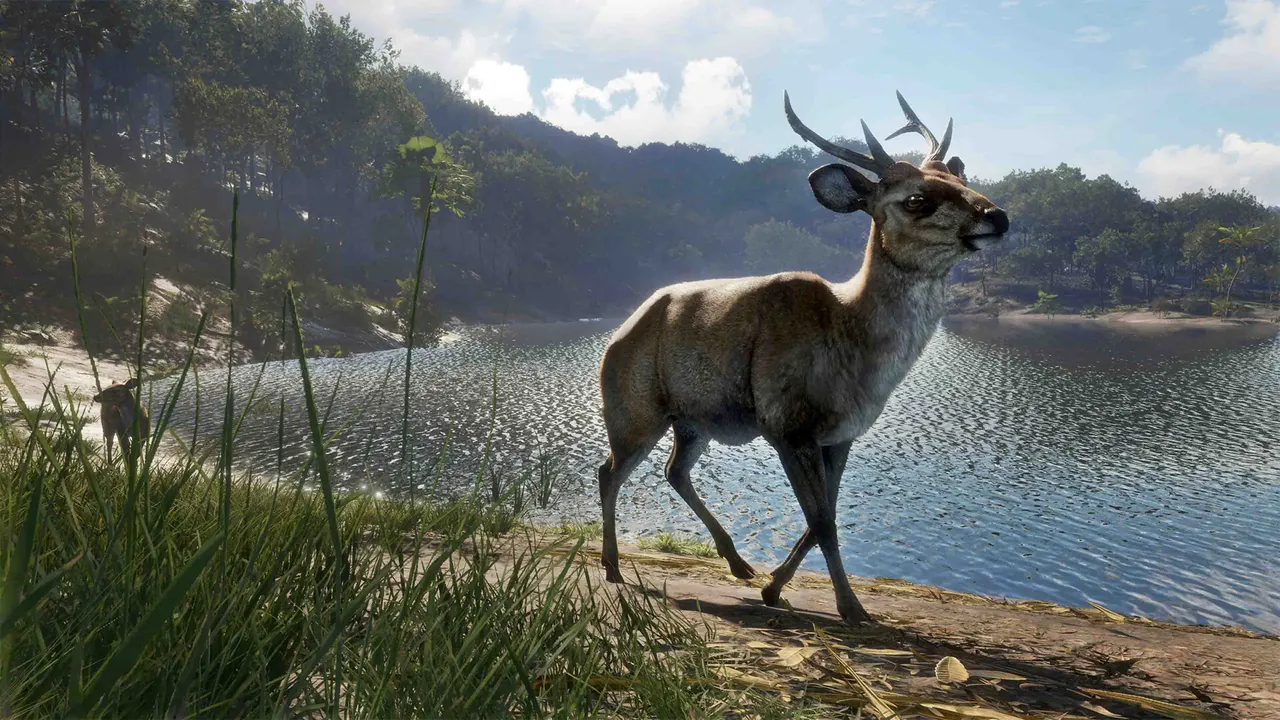 Small deer on a lake shore
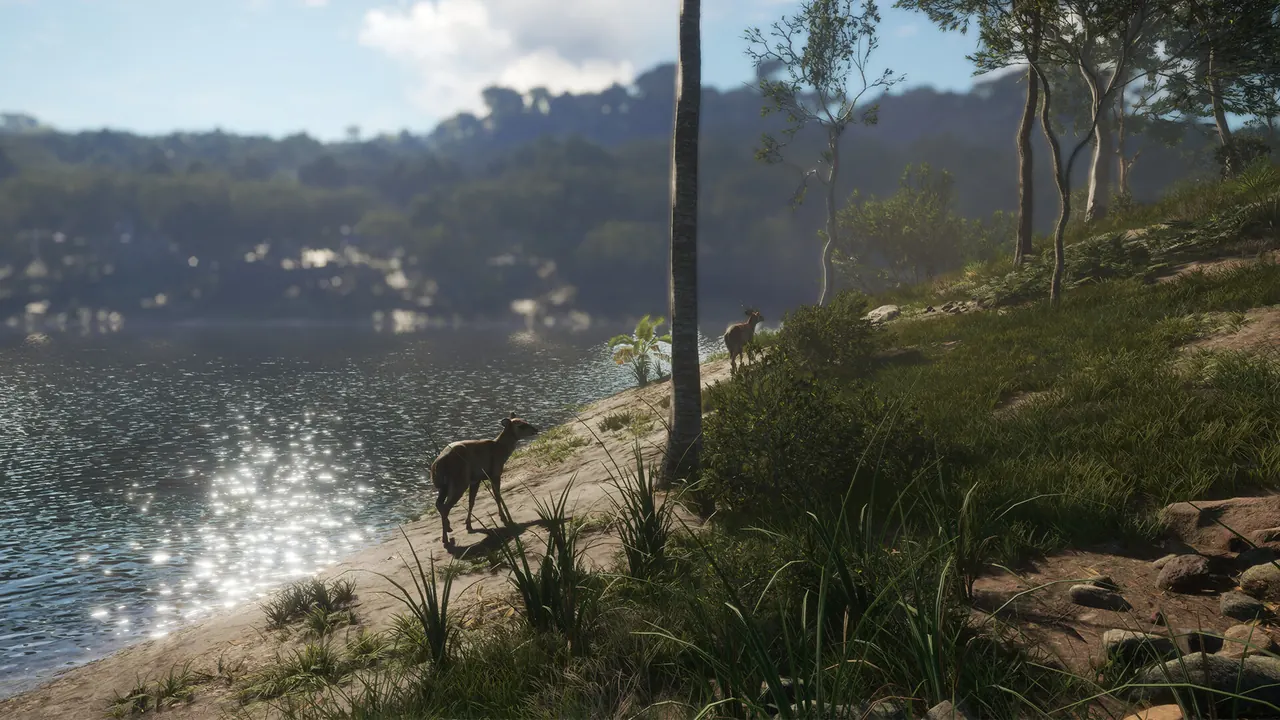 Wildlife on a sunlit lake shore
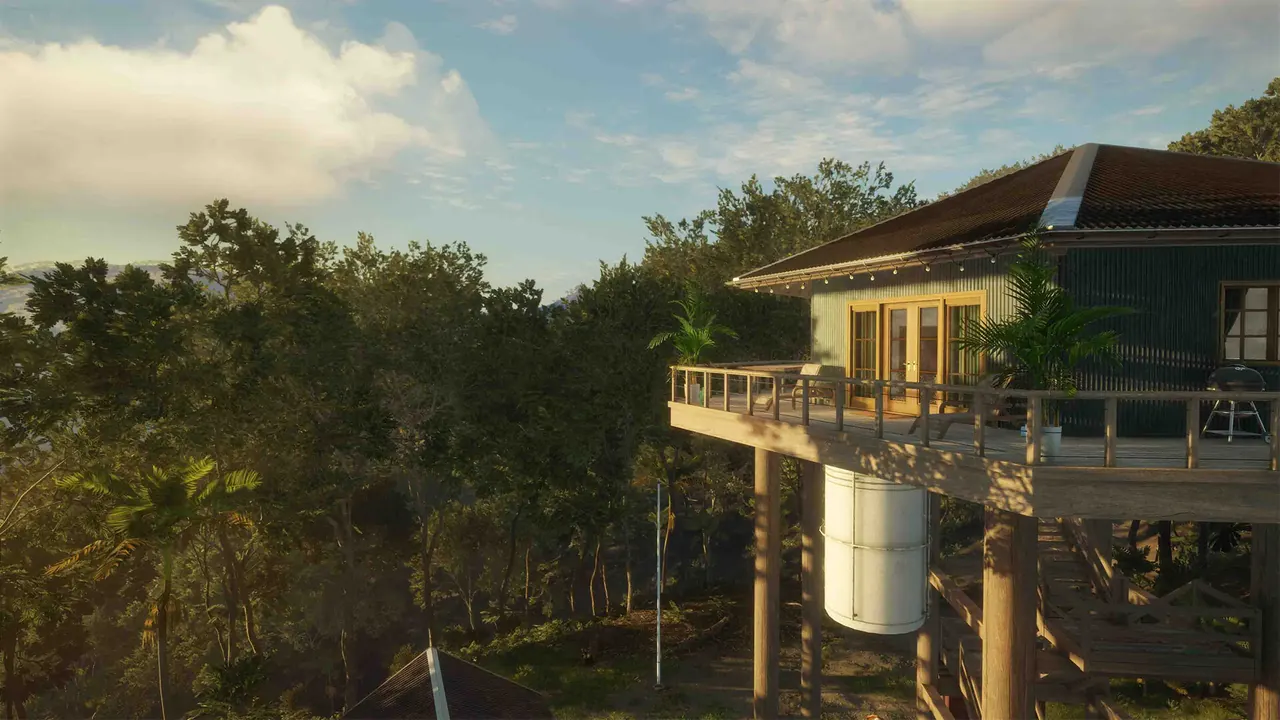 Stilt-house outpost in the bush
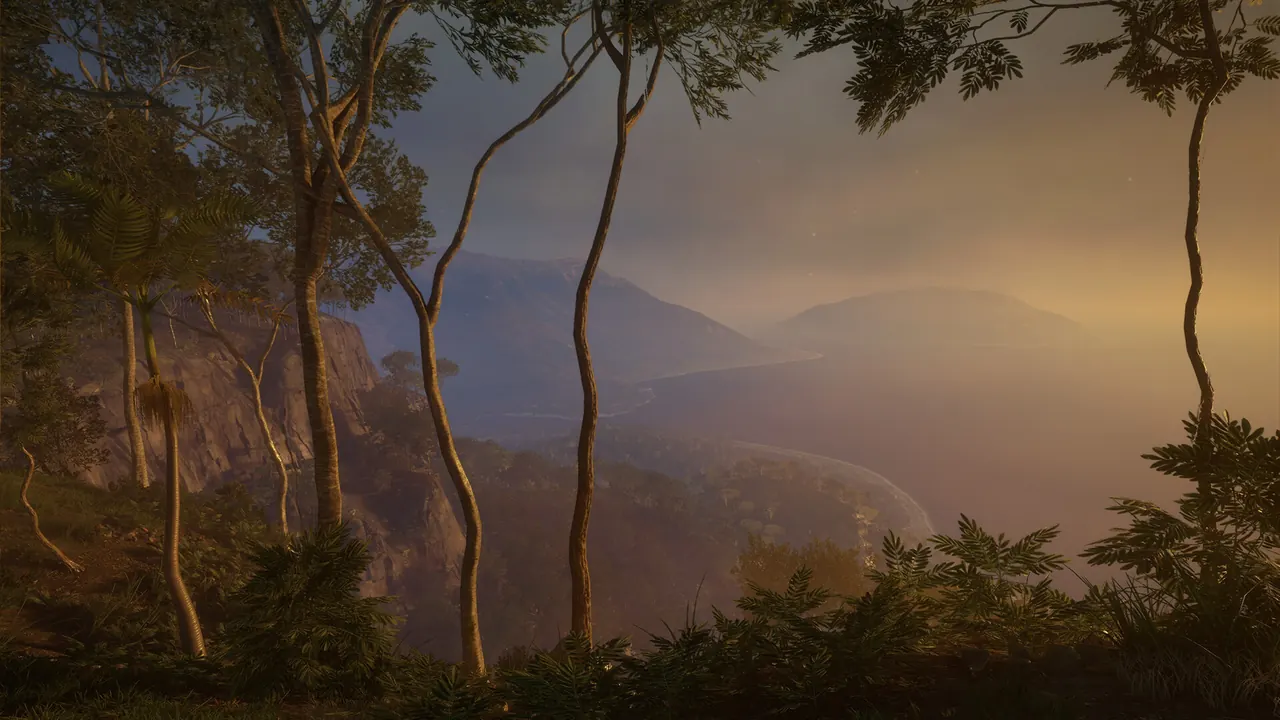 Gorge at sunset
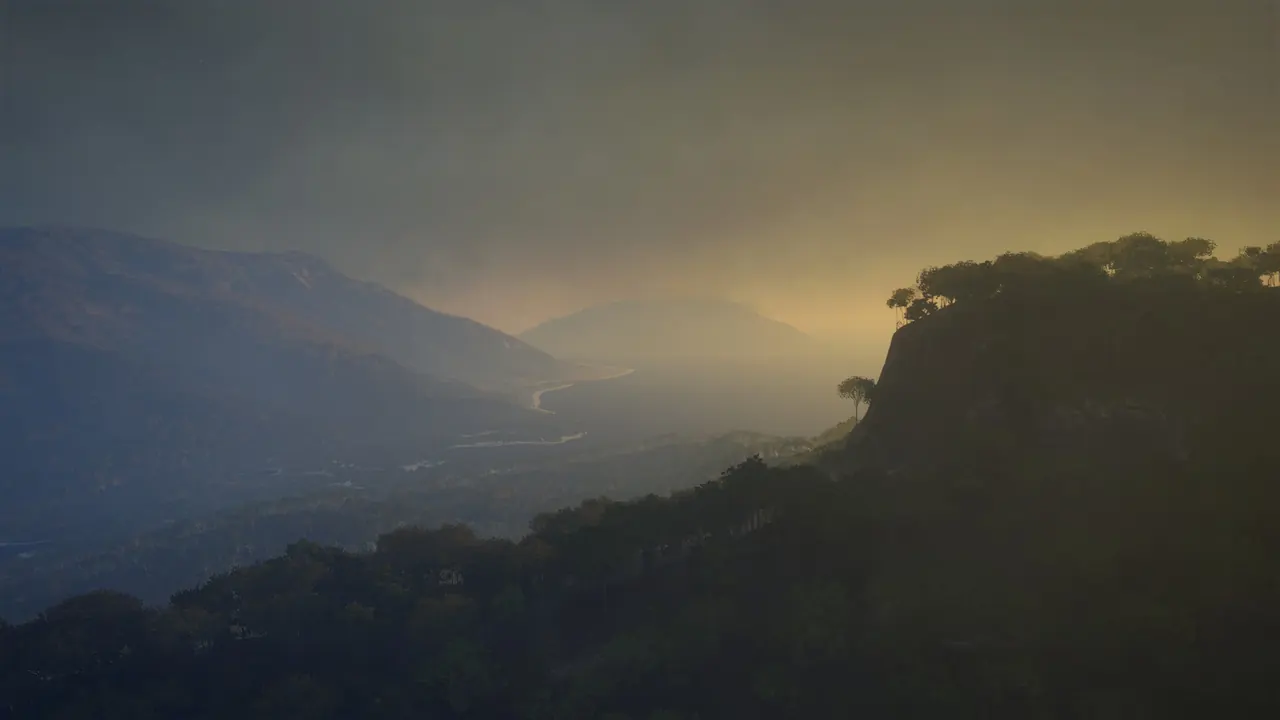 Misty gorge
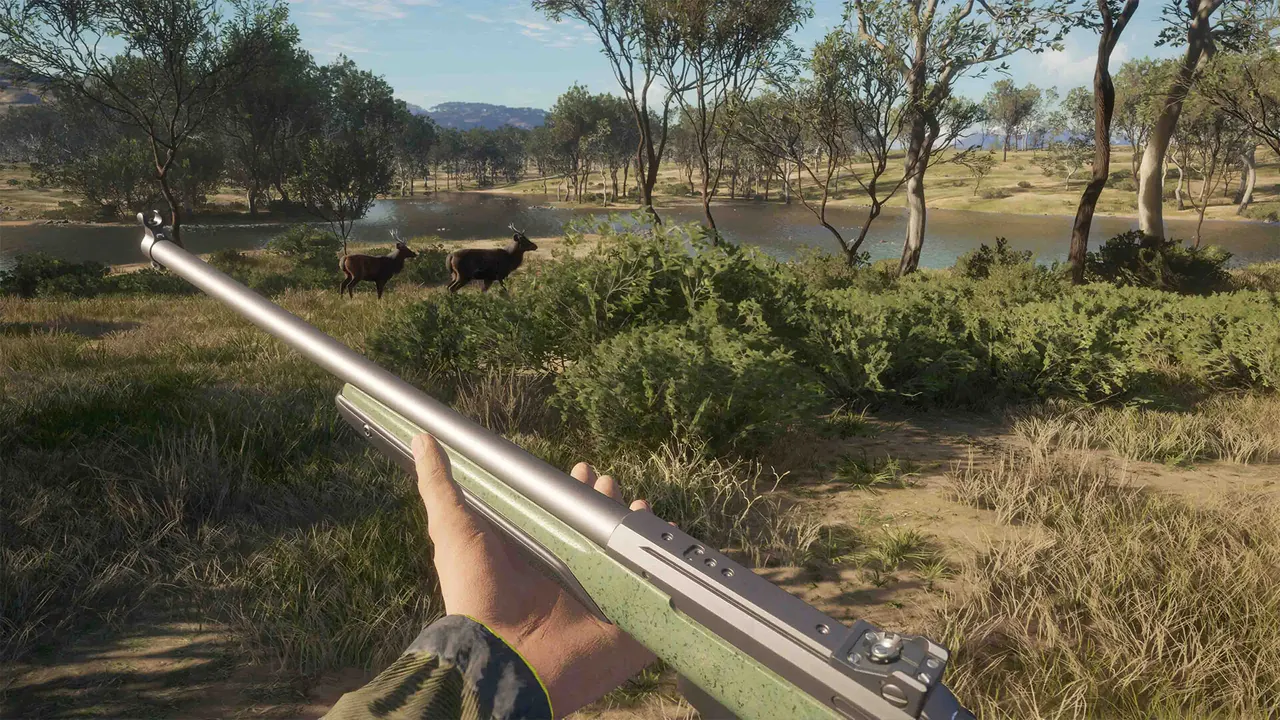 Rifle raised over deer at a waterhole
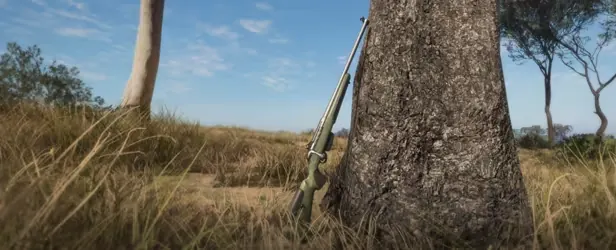 Rifle leaning on a gum tree
13 official images from the game's store page. Tap any image to enlarge.
About Emerald Coast Australia
Australian outback, subtropical bushland, tropical rainforest, grassy fields, waterways and mangrove swamps on a coastline. 22-24 outposts (named cottages, campers, retreats) and 11 ‘Tower’ lookouts. Introduced Saltwater Crocodile, Banteng, Eastern Grey Kangaroo and Magpie Goose; Zagan Varminter .22-250.
What you get with the Emerald Coast Australia DLC:
- Terrain: outback, subtropical bushland, tropical rainforest.
- Species named: Magpie Goose, Banteng, Saltwater Crocodile, Eastern Gray Kangaroo; plus an unnamed new Great One (no full list or size given).
- Weapon: Zagan Varminter .22-250 bolt-action rifle.
- Side and story missions themed on conservation and community.
Interactive Map of Emerald Coast Australia
Toggle the layers. Pick a species to light up where it’s found, and tap any marker for its name and grid reference.
Swipe the map sideways to see it all.
Tap a marker or pick a species.
Illustration, not a copy of the in-game map. Positions are approximate and scaled from published coordinates to a 10 × 10 grid. The coast, Lake Cave, Tea Fields and the eastern peaks come from our data. The mangrove and outback zones are illustrative, placed from habitat descriptions. Use the in-game map for navigation.
Regions at a Glance
| Region / area | Grid | Terrain |
|---|---|---|
| Eastern mountains | I5 | mountain peaks |
| Tea Fields | B3 | cultivated fields |
| Mangroves & deltas | I7 | swamp |
| Bushland & outback (approx.) | D8 | grass |
Outposts and Lookouts
Outposts are fast-travel points; climbing a lookout reveals the map around it. Grid references match the map’s grid layer (columns A–J west to east, rows 1–10 north to south).
| Name | Type | Grid |
|---|---|---|
| Archie's Camper | Outpost | F2 |
| Babe's Camper | Outpost | I4 |
| Bambora Cottage | Outpost | G6 |
| Bogey Hole Retreat | Outpost | F3 |
| Brindleton Pit Stop | Outpost | D8 |
| Buckley's Respite | Outpost | B4 |
| Gilgai House | Outpost | F9 |
| Golden Wattle Respite | Outpost | H10 |
| Irongate Cabin | Outpost | D2 |
| Jakewood Cottage | Outpost | I6 |
| Kanyana | Outpost | A8 |
| Knife Point Retreat | Outpost | E6 |
| Kylie's Caravan | Outpost | E10 |
| Meg's Retreat | Outpost | J8 |
| Mr Percival Perch | Outpost | I3 |
| Opal Point Sanctuary | Outpost | F1 |
| Pearl's Camper | Outpost | D4 |
| Red Stone House | Outpost | F5 |
| Soph's Place | Outpost | C9 |
| St. Macks Respite | Outpost | B1 |
| Windibella Cabin | Outpost | I2 |
| Zoe's Cottage | Outpost | B3 |
| Albert Tower | Lookout | C5 |
| Andrew Tower | Lookout | D4 |
| David Tower | Lookout | E3 |
| Edith Tower | Lookout | H5 |
| Edward Tower | Lookout | I3 |
| Elizabeth Tower | Lookout | D7 |
| Howard Tower | Lookout | I8 |
| Kathleen Tower | Lookout | C1 |
| Mary Tower | Lookout | E9 |
| Stella Tower | Lookout | B9 |
| Vincent Tower | Lookout | H2 |
All 14 Animals on Emerald Coast Australia
Every species on the reserve, heaviest class first. Each card shows the class, the hardest difficulty it can reach, the diamond threshold, any Great One, and the published feed, drink and rest times. For full trophy data see our animals page.
Banteng
Class 9Very Difficult 5 rare furs
Diamond: 137 · Gold 109.04 · Weight 590–800 kg
Drink: 17:00–20:00
Ammo: 7mm Regent Magnum (7mm Mag Soft-Point), .300 Canning Magnum (.300 Mag Soft-Point)
Only found on Emerald Coast Australia
Saltwater Crocodile
Class 8Legendary 6 rare furs
Diamond: 1015 · Gold 760 · Weight 368–1100
Drink: not published
Ammo: .270 Huntsman (.270 Soft-Point), Martensson 6.5mm (6.5mm Soft-Point)
Only found on Emerald Coast Australia
Sambar
Class 7Very Difficult 7 rare furs
Diamond: 166.24 · Gold 124.21 · Weight 180–300
Drink: 17:00–20:00
Ammo: .270 Huntsman (.270 Soft-Point), Martensson 6.5mm (6.5mm Soft-Point)
Only found on Emerald Coast Australia
Red Deer Great One here
Class 6Fabled 7 rare furs
Diamond: 251.07 · Gold 182.25 · Weight 120–240 kg
Drink: 06:00–10:00
Ammo: Ranger .243 (.243 Soft-Point), Whitlock Model 86 (.30-30 Soft-Point Round Nose)
Tip: Te Awaroa often recommended for numbers and payouts.
Also on: Cuatro Colinas Game Reserve, Hirschfelden Hunting Reserve, Parque Fernando, Te Awaroa National Park, Tòrr nan Sìthean
Feral Pig
Class 5Very Difficult 2 rare furs
Diamond: 144.25 · Gold 98.5 · Weight 32–205
Drink: 00:00–03:00
Ammo: Ranger .243 (.243 Soft-Point), Whitlock Model 86 (.30-30 Soft-Point Round Nose)
Also on: Mississippi Acres Preserve, Te Awaroa National Park
Javan Rusa
Class 5Very Difficult 5 rare furs
Diamond: 148.78 · Gold 112.71 · Weight 172–172
Drink: 20:00–00:00
Ammo: Ranger .243 (.243 Soft-Point), Whitlock Model 86 (.30-30 Soft-Point Round Nose)
Only found on Emerald Coast Australia
Eastern Gray Kangaroo
Class 4Legendary 6 rare furs
Diamond: 492 · Gold 378 · Weight 29.25-66
Drink: 00:00–03:00
Ammo: Ranger .243 (.243 Soft-Point), .223 Docent (.223 Soft-Point)
Tip: Kangaroo trophy is not antlered; check TR range with Spotting Knowledge 3 before shooting.
Only found on Emerald Coast Australia
Fallow Deer Great One here
Class 4Fabled 8 rare furs
Diamond: 249.99 · Gold 187.81 · Weight 30–100
Drink: 10:00–13:00
Ammo: Ranger .243 (.243 Soft-Point), .223 Docent (.223 Soft-Point)
Tip: Fallow are very common on Te Awaroa and Hirschfelden, good for churning.
Also on: Hirschfelden Hunting Reserve, Te Awaroa National Park, Tòrr nan Sìthean
Axis Deer
Class 3Very Difficult 3 rare furs
Diamond: 217.2 · Gold 155.3 · Weight 75–75 kg
Drink: 03:00–06:00
Ammo: Ranger .243 (.243 Soft-Point), .223 Docent (.223 Soft-Point)
Also on: Parque Fernando
Feral Goat
Class 3Very Difficult 7 rare furs
Diamond: 208.71 · Gold 157.6 · Weight 25-50
Drink: 12:00–15:00
Ammo: Ranger .243 (.243 Soft-Point), .223 Docent (.223 Soft-Point)
Also on: Te Awaroa National Park, Tòrr nan Sìthean
Hog Deer
Class 3Very Difficult 5 rare furs
Diamond: 108.68 · Gold 83.3 · Weight 25-50
Drink: 13:00–17:00
Ammo: Ranger .243 (.243 Soft-Point), .223 Docent (.223 Soft-Point)
Only found on Emerald Coast Australia
Red Fox Great One here
Class 2Fabled 15 rare furs
Diamond: 14.05 · Gold 10.03 · Weight 1–15.4
Drink: 17:00–20:00
Ammo: Ranger .243 (.243 Soft-Point), .223 Docent (.223 Soft-Point)
Tip: Evening drink window (19:00-0:30).
Also on: Hirschfelden Hunting Reserve, New England Mountains, Salzwiesen Park, Tòrr nan Sìthean, Yukon Valley Nature Reserve
Magpie Goose
Class 1Very Difficult 6 rare furs
Diamond: 3.85 · Gold 3.4 · Weight 1-3
Drink: not published
Ammo: Caversham Steward 12G (12 GA Birdshot), Nordin 20SA (20 GA Birdshot)
Only found on Emerald Coast Australia
Stubble Quail
Class 1Medium 2 rare furs
Diamond: 238 · Gold 202 · Weight 0.1–0.13
Drink: not published
Ammo: Caversham Steward 12G (12 GA Birdshot), Nordin 20SA (20 GA Birdshot)
Only found on Emerald Coast Australia
Need-zone times are the published in-game windows (24-hour clock). Zone locations differ between saves, so find and mark your own.
Trophy Thresholds on Emerald Coast Australia
The trophy rating you need for each medal. Diamonds only drop at the top difficulty levels, so check an animal’s level with your binoculars before you shoot.
| Species | Class | Max level | Silver | Gold | Diamond | Max weight |
|---|---|---|---|---|---|---|
| Red Deer GO | Fabled | 90.5 | 182.25 | 251.07 | 240 kg | |
| Fallow Deer GO | Fabled | 104.89 | 187.81 | 249.99 | 100 kg | |
| Red Fox GO | Fabled | 4.66 | 10.03 | 14.05 | 15.4 kg | |
| Saltwater Crocodile | Legendary | 420 | 760 | 1015 | 1100 kg | |
| Eastern Gray Kangaroo | Legendary | 226 | 378 | 492 | 66 kg | |
| Banteng | Very Difficult | 71.77 | 109.04 | 137 | 800 kg | |
| Sambar | Very Difficult | 67.92 | 124.21 | 166.24 | 300 kg | |
| Feral Pig | Very Difficult | 37.5 | 98.5 | 144.25 | 205 kg | |
| Javan Rusa | Very Difficult | 64.62 | 112.71 | 148.78 | 172 kg | |
| Axis Deer | Very Difficult | 72.8 | 155.3 | 217.2 | 75 kg | |
| Feral Goat | Very Difficult | 89.44 | 157.6 | 208.71 | 50 kg | |
| Hog Deer | Very Difficult | 49.45 | 83.3 | 108.68 | 50 kg | |
| Magpie Goose | Very Difficult | 2.8 | 3.4 | 3.85 | 3 kg | |
| Stubble Quail | Medium | 154 | 202 | 238 | 0.13 kg |
Best Weapons for Emerald Coast Australia
The smallest base-game kit that covers every class here (1–9), so whatever walks into a zone you have legal ammo:
- Caversham Steward 12G: classes 1, 2, 3, 4, 5, 6, 7, 8 (12 GA Birdshot, 12 GA Buckshot, 12 GA Slug)
- 7mm Regent Magnum: classes 9 (7mm Mag Soft-Point)
Good DLC upgrades for the bigger game here: Bearclaw Lite CB-60 (Free DLC/download), Crosspoint CB-165 (Weapon Pack 1), Houyi Recurve Bow (Weapon Pack 1), Grelck Drilling Rifle (Weapon Pack 2), Solokhin MN1890 (Weapon Pack 2), Eckers .30-06 (Weapon Pack 3). See every pack in our weapon pack guides.
Hunting Tips for Emerald Coast Australia
- Crocodiles feed only at night (about 20:00-04:00) and do not drink; check deltas and mangroves after dark.
- Need-zone times (gotemgood): Banteng drink 17-20; Sambar drink 17-20; Javan Rusa drink 20-00; Kangaroo drink 00-03; Red Deer drink 06-10; Fallow drink 10-13.
- Flat, dry outback areas hold few animals; dense rainforest makes glassing hard - use an ATV and unlock outposts early.
- Need zones sit inside fixed habitat areas but are randomised per save, so scout rather than copy others’ spots.
- Work the drink zones. Most species here have a published drink window (see the cards above). Sit near water in that window, downwind, and let the animals come to you.
- Bird hunting: Magpie Goose, Stubble Quail live here. Bring a shotgun with birdshot, and use decoys and callers where you can.
- Dangerous game: Saltwater Crocodile can charge or attack. Carry a heavy calibre, keep a tent or tripod for safety, and don’t take marginal shots.
- Great One grind: for Red Deer, Fallow Deer, Red Fox, harvest steadily on this reserve. Every kill of that species counts toward the Great One. See the diamond guide.
- Fabled furs: only level-10 animals of Red Deer, Fallow Deer, Red Fox can carry a Fabled fur. Glass every herd for top-level animals.
- Diamonds: only take max-level animals when chasing trophies, use in-class ammo, and make a clean one-shot kill to keep the harvest bonus.
Similar Reserves
These reserves share the most species with Emerald Coast Australia:
Sources: official store page for theHunter: Call of the Wild — Emerald Coast Australia, our species database (class, thresholds, need zones and furs compiled from community trackers and checked in game where possible), and published game-file coordinates for the map. Compiled October 2026.
Frequently Asked Questions
What animals are in Emerald Coast Australia in theHunter: Call of the Wild?
Where is Emerald Coast Australia based on?
When was Emerald Coast Australia released?
Does Emerald Coast Australia have Great Ones?
What is the best gun for Emerald Coast Australia?
What is the biggest animal on Emerald Coast Australia?
Which animals can only be hunted on Emerald Coast Australia?
Which Emerald Coast Australia animals can reach Fabled difficulty?
Do I need the DLC to hunt Emerald Coast Australia?
Everything on this page comes from playing and studying the game. If it helped, pick it up from the official store and support the studio that makes it.
Get Emerald Coast Australia on Steam → Also on PlayStation and Xbox. Store prices change; check the store for the current price.